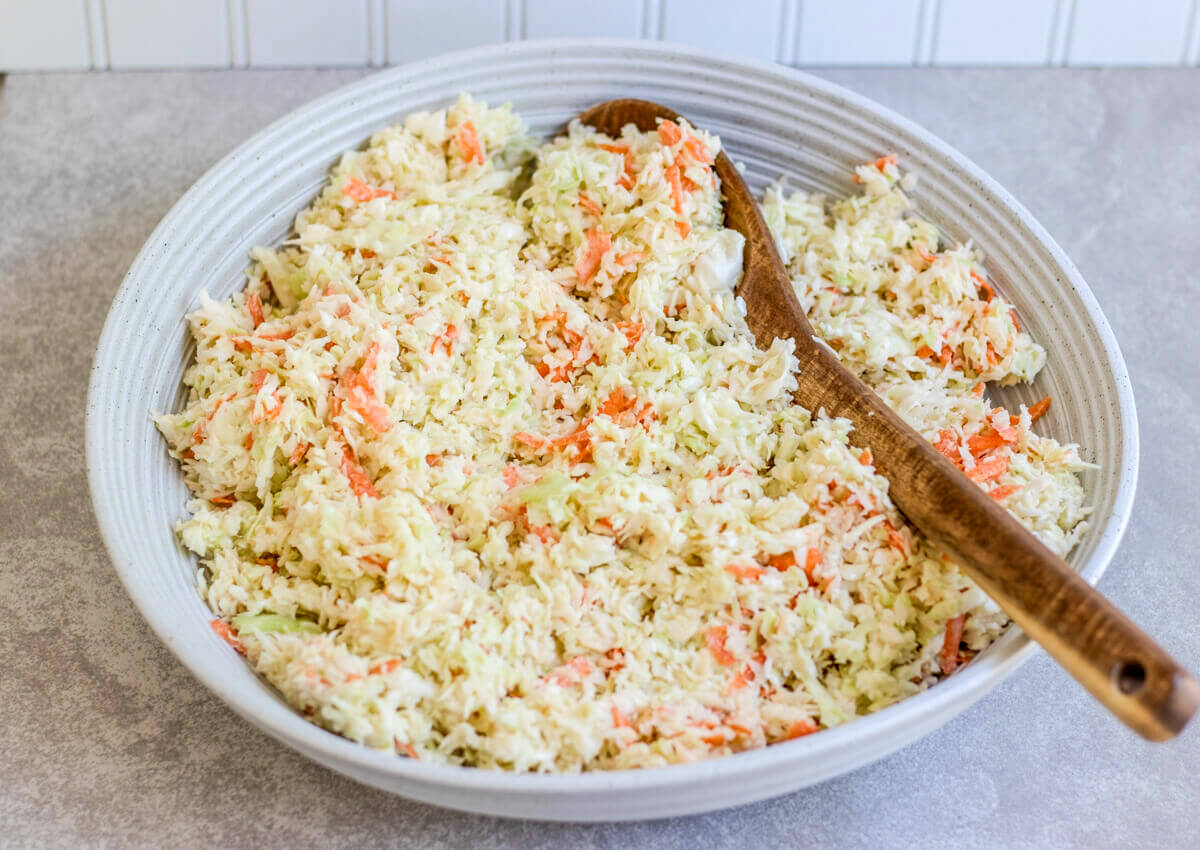
How To Make Super Simple Sauerkraut
This super simple sauerkraut is delicious, is SO easy to make, and best of all – bursting with gut healthy probiotics to nourish you and your family.
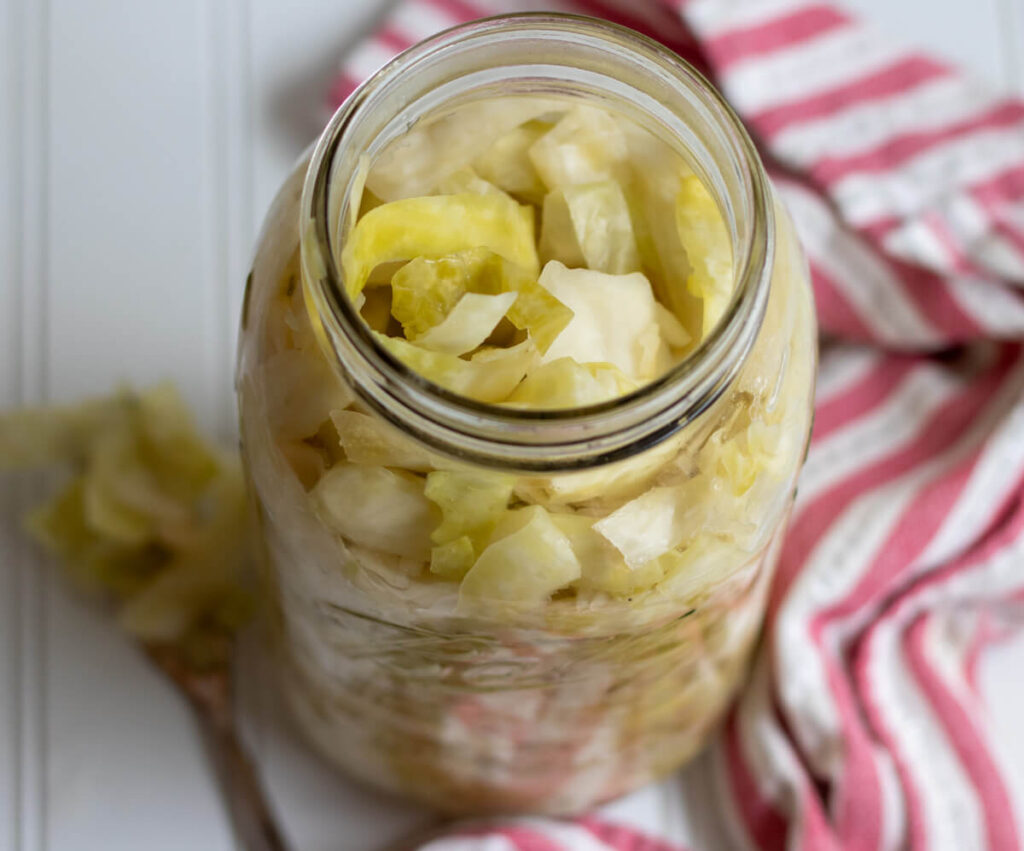
Sauerkraut is a staple in my home. We serve it as a side, on top of bratwurst, scrambled eggs, sandwiches, tacos, you name it, sauerkraut is on it. Not only do I love keeping it on hand for ease of meal planning but the power probiotics have on your gut health is real.
There are websites and articles that will give you very detailed and very precise measurements with salt and water percentages but I’m here to tell you, my super simple method has never let me down. As a busy mom I want to nourish my family but I also know that fermenting things can be daunting. If you feel that way then this method is for you!
Why You’ll Love This Recipe
- It will make meal planning easier – having this on hand as a side to serve along with your dinner is so so helpful.
- It’s inexpensive to make – high quality probiotics can be very pricey, especially if you are giving them to your whole family. For less than ten bucks you can provide your family with a high quality homemade version. This article goes more in depth on the benefits of sauerkraut.
- It’s so simple to make – it uses only two ingredients – cabbage and salt
- This is fermented and not canned so many of the nutrients remain andddd you get the good probiotics!
Ingredients
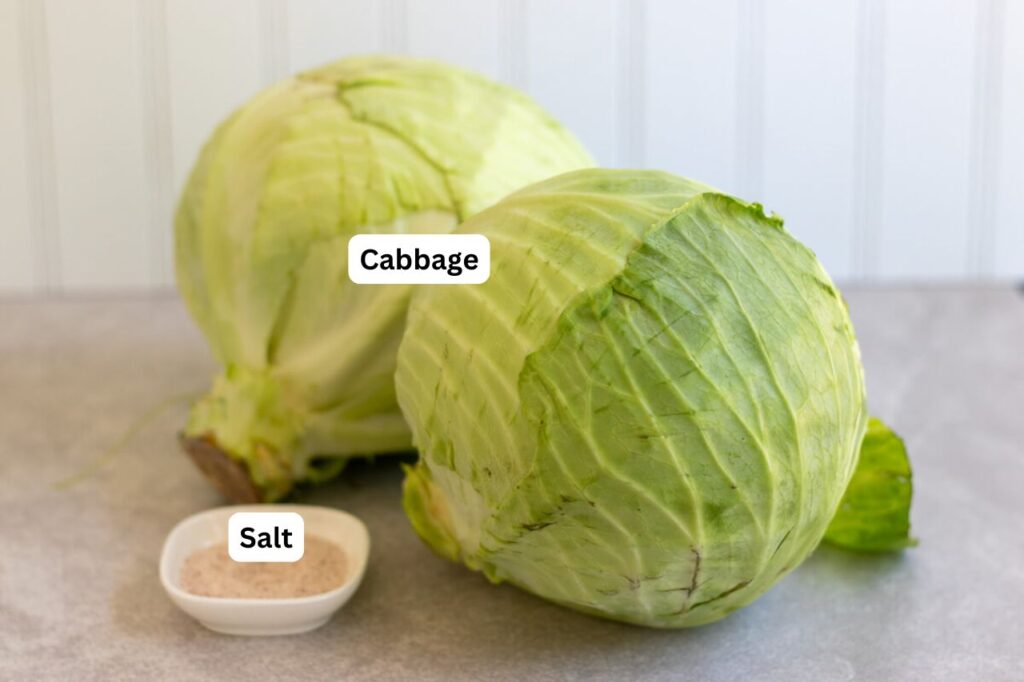
Cabbage – I prefer green cabbage but you can use red. Organic is best if you can get it.
Salt – The only salt I use is Redmond’s Real Salt. Just don’t use table salt.
Sauerkraut Variations
I honestly prefer this with just the cabbage but here are some ingredients you can add in if desiered:
- caraway seeds
- dill
- garlic
- raisons
- shredded apples
How To Make Super Simple Sauerkraut
First, remove several of the outer cabbage leaves and save for later. This is important! Don’t throw them away.
Regardless of if you are going to put your cabbage in the food processor or shred by hand, you will want to core the cabbage and cut into quarters. At this point, you can either put these in the food processor, cut into small shreds, or put into the food processor. My family and I prefer the texture of cutting by hand.
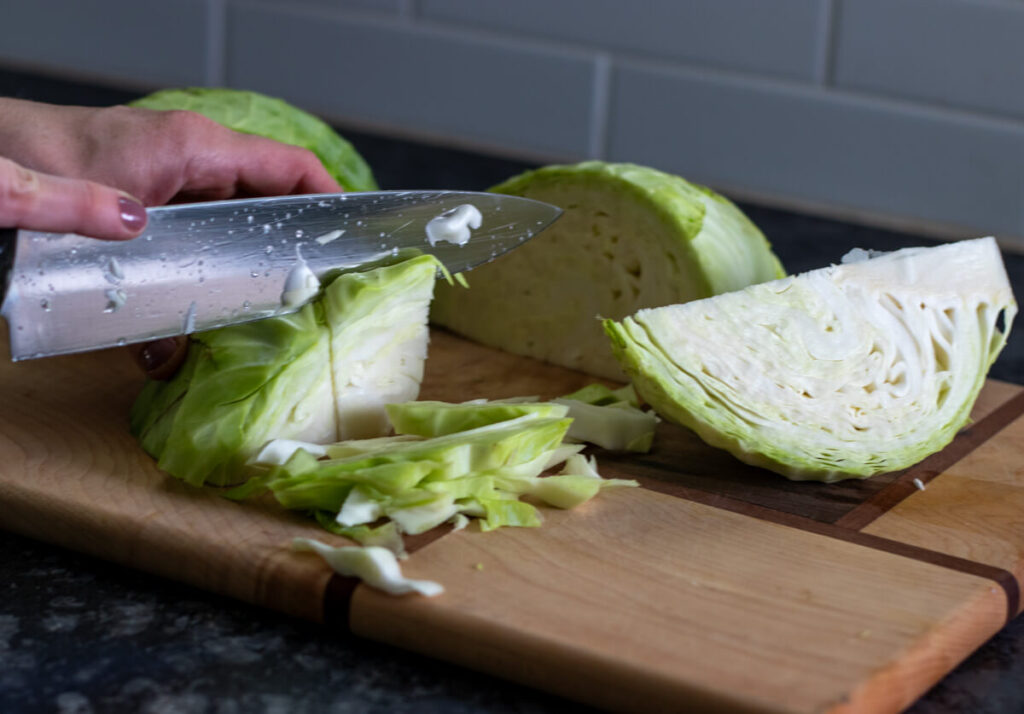
Next, add the cabbage to a large bowl (I usually put into a stock pot because I don’t have a bowl that big) and add a tablespoon of salt per cabbage. Let it sit for about 45 mins – to an hour to let the cabbage sweat.
Once the cabbage releases some juices, use clean hands to massage the cabbage further to release even more water for about 5 mins. This will create a brine.
Place the cabbage and brine water into a half gallon jar. I’ve found that two smallish cabbages fit perfectly. As you fill the jar you will want to smush down the cabbage with your fist or a wooden spoon. You can also purchase a fancy tool that’s made to punch it down but you really don’t need to.
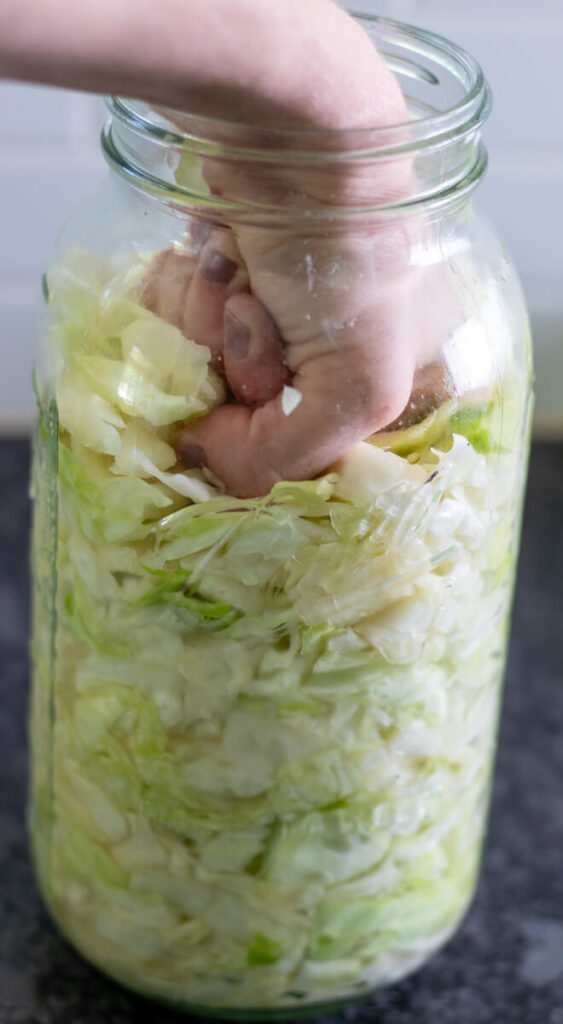
Make sure that the cabbage is completely submerged beneath the brine. If it’s not, you can top it with a little bit of filtered water.
Next, fold up the cabbage leaves that you saved from earlier and put on top. You need to make sure this is submerged as well. This helps keep the shredded cabbage beneath the brine.
Place a fermentation weight on top. If this is your first time doing this and you don’t have one and/or don’t want to spend the money on one you can get a plastic baggie and fill it with rocks. I did this for over a year. The point is to keep the cabbage leaves underneath the brine. If you don’t it will mold and you will need to throw everything away.
Lastly, you want to add either a lid or a fermentation lid and let it sit on the counter for about a week. Don’t screw the lid on, just place on top. If you are not using a fermentation lid you will need to “burp” it everyday. All you need to do is remove the lid and push down on the weight. You will see bubbles rise to the top. Then replace the lid.
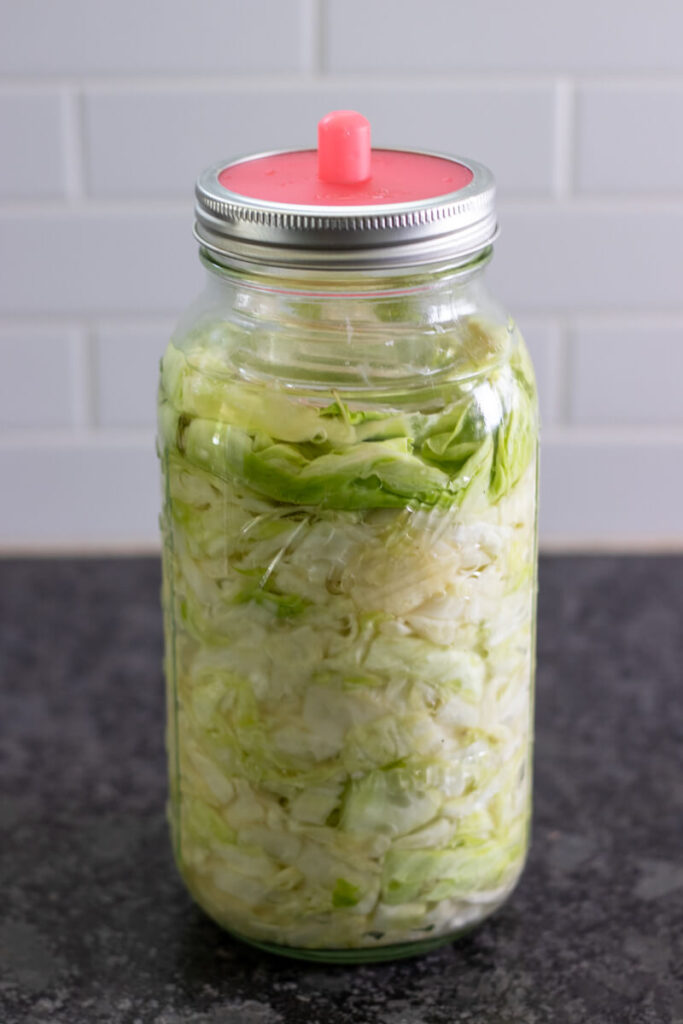
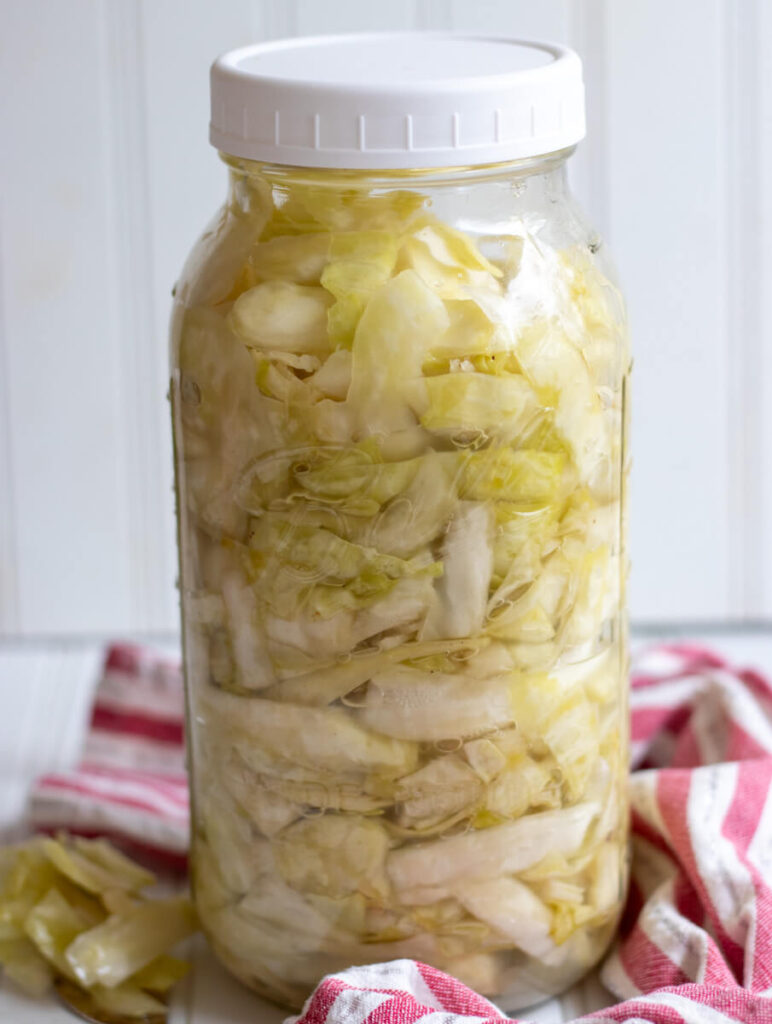
I’ve found that seven days tends to be perfect for our family but you should start tasting it after five days to see how you like it. It will get more tangy the longer it sits.
Once it’s to your liking, remove the weights, throw away the cabbage leaves, and store in the fridge!
Tips For How To Make Super Simple Sauerkraut
- If this is your first time making sauerkraut then I wouldn’t worry about purchasing the weights or a fermentation lid. If it becomes part of your regular rotation I do find it worth it.
- It is essential that the cabbage stays beneath the brine. If you see mold or any color throughout then throw it away.
- I always boil water and pour it over the glass jar, lid, and fermentation weight while the cabbage is sweating. Not 100% necessary but it puts my mind at ease.
- Put the sauerkraut somewhere out of the sunshine while it’s fermenting. It’s doesn’t have to be in a closet or anything but just not in front of a window.
How To Make Super Simple Sauerkraut
Equipment
- 1 food processor
- 1 fermentation weight
- 1 fermentation lid
Ingredients
- 2 small heads of cabbage
- 2 tbsp salt
Instructions
- First, remove several of the outer cabbage leaves and save for later. This is important! Don't throw them away.
- Regardless of if you are going to put your cabbage in the food processor or shred by hand, you will want to core the cabbage and cut into quarters. At this point, you can either put these in the food processor, cut into small shreds, or put into the food processor. My family and I prefer the texture of cutting by hand.
- Next, add the cabbage to a large bowl (I usually put into a stock pot because I don't have a bowl that big) and add a tablespoon of salt per cabbage. Let it sit for about 45 mins – to an hour to let the cabbage sweat.
- Once the cabbage releases some juices, use clean hands to massage the cabbage further to release even more water for about 5 mins. This will create a brine.
- Place the cabbage and brine water into a half gallon jar. I've found that two smallish cabbages fit perfectly. As you fill the jar you will want to smush down the cabbage with your fist or a wooden spoon. You can also purchase a fancy tool that's made to punch it down but you really don't need to.
- Make sure that the cabbage is completely submerged beneath the brine. If it's not, you can top it with a little bit of filtered water.
- Next, fold up the cabbage leaves that you saved from earlier and put on top. You need to make sure this is submerged as well. This helps keep the shredded cabbage beneath the brine.
- Place a fermentation weight on top. If this is your first time doing this and you don't have one and/or don't want to spend the money on one you can get a plastic baggie and fill it with rocks. I did this for over a year. The point is to keep the cabbage leaves underneath the brine. If you don't it will mold and you will need to throw everything away.
- Lastly, you want to add either a lid or a fermentation lid and let it sit on the counter for about a week. Don't screw the lid on, just place on top. If you are not using a fermentation lid you will need to "burp" it everyday. All you need to do is remove the lid and pushdown on the weight. You will see bubbles rise to the top. Then replace the lid.
- I've found that seven days tends to be perfect for our family but you should start tasting it after five days to see how you like it. It will get more tangy the longer it sits.
- Once it's to your liking, remove the weights, throw away the cabbage leaves, and store in the fridge!
Notes
- If this is your first time making sauerkraut then I wouldn’t worry about purchasing the weights or a fermentation lid. If it becomes part of your regular rotation I do find it worth it.
- It is essential that the cabbage stays beneath the brine. If you see mold or any color throughout then throw it away.
- I always boil water and pour it over the glass jar, lid, and fermentation weight while the cabbage is sweating. Not 100% necessary but it puts my mind at ease.
- Put the sauerkraut somewhere out of the sunshine while it’s fermenting. It’s doesn’t have to be in a closet or anything but just not in front of a window.


